
How to Remove Captions from Long Tutorial Videos
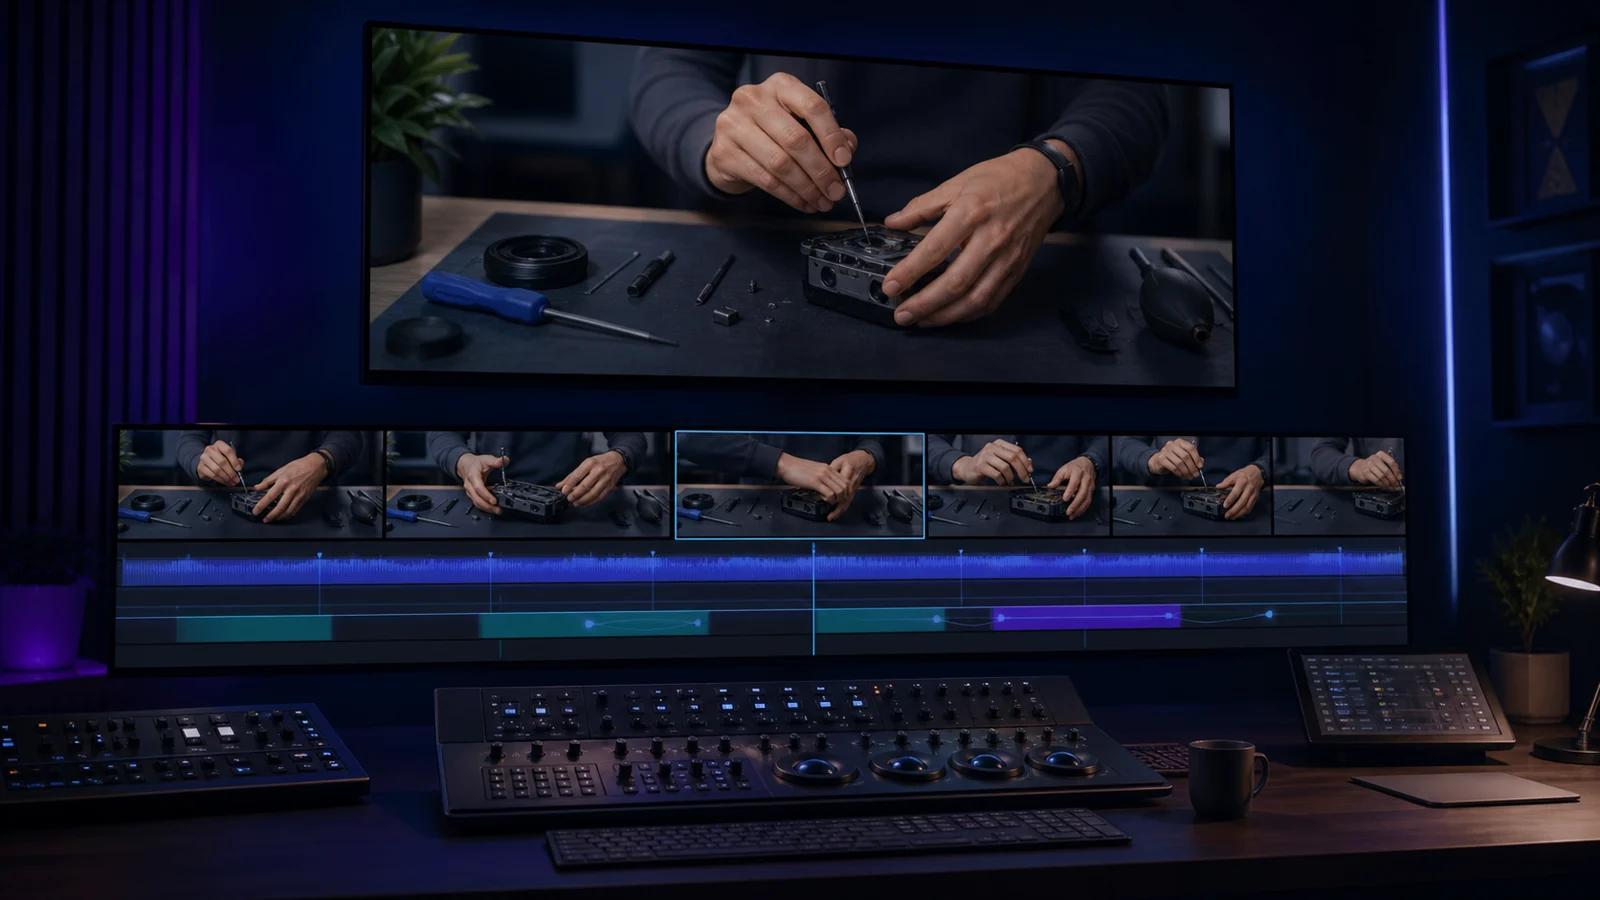
To remove captions from a long tutorial video, first identify whether they are a separate subtitle track or part of the picture. Remove a separate track directly. For burned-in captions, test the hardest 30–60 seconds before processing the full tutorial, then clean and review the video by chapter.
In a 30- or 60-minute lesson, captions may move from a plain desk to fingers, tools, menus, or close-up demonstrations. Finding a weak restoration after the full export creates avoidable rework. The goal is an approved, caption-free master whose visual details, timing, audio, and delivery settings are checked before re-captioning or translation.
Why are long tutorial videos harder to clean?
Length multiplies variation. A tutorial may move between a presenter, overhead demonstration, screen recording, close-up, and title card. The pixels behind its captions change with every shot.
Five problems deserve special attention:
- Hands and tools cross the caption zone. A repair that works on a static table may affect fingers, controls, or product edges.
- Cuts change the background instantly. Each side of a cut may need different treatment.
- Compression hides detail. Repeated exports leave less information for reconstruction.
- Small errors become temporal artifacts. One weak frame can create flicker, a ghost letter, or a warped edge.
- Review time grows. Watching only the beginning and end misses difficult moments.
Mark the moments most likely to fail, validate the method there, and only then commit the rest of the tutorial.
What method works for removing captions from a long video?
Answer in brief: To remove captions from a long tutorial video, first determine whether they are a separate subtitle track or burned into the picture. A soft track can usually be omitted without changing the image. For hardcoded captions, do not process 60 minutes immediately. Mark scene changes and moments when hands, tools, products, interfaces, or faces enter the caption zone; then choose the hardest 30–60 seconds as a stress test. Clean that segment, review it at normal speed and frame by frame, and define measurable pass criteria: no readable remnants, flicker, warped edges, or subject damage. If the test passes, divide the tutorial into chapters or shot groups, process each section, and review cut points before assembling a clean master. Compare the export with the source, then add accessible target-language captions or translation. Keep the original file and an edit log so failed sections can be retried without repeating approved work.
The first branch is technical. HandBrake’s subtitle documentation distinguishes a permanent hard burn from selectable soft-subtitle tracks. If disabling every subtitle track removes the text, omit the unwanted track. Text that remains is hardcoded into the picture.
Hardcoded-caption cleanup uses video inpainting to reconstruct the selected region over time. Adobe’s official Content-Aware Fill workflow shows why difficult footage needs segmentation and review: editors can limit the work area and create reference frames when automatic fill needs guidance. Visual QA remains essential.
How do you remove captions from a tutorial video step by step?
- Confirm rights and preserve the best source. Use a video you own, license, or have permission to edit, and keep an untouched copy. If the source project exists, hide its caption layer instead of reconstructing a finished export.
- Determine whether captions are soft or hardcoded. Disable all subtitle tracks and inspect the available streams. Export without an unwanted soft track. If text stays visible, use a burned-in-caption workflow. Check several chapters because one file may contain both types.
- Build a timeline risk map. Mark cuts, position changes, multi-line captions, camera moves, and moments when a face, hand, tool, diagram, or interface crosses the text. Label sections high, medium, or low risk.
- Choose a 30–60 second stress test. Select motion, detailed texture, a cut, and the largest caption—not the easiest opening. Include outlines and shadows in the affected area.
- Clean and approve the test. Preview at normal speed, then inspect cuts, occlusions, and motion frame by frame. Pass only when there are no readable remnants, distracting flicker, drifting boundaries, or visible subject damage.
- Process by chapter or shot group. If the cleanup interface does not split chapters automatically, divide the authorized source at clean lesson or shot boundaries in your video editor, process those files separately, and reassemble them after approval. This isolates retries without implying an automatic chapter feature. Separate a stable presenter section from a close-up demonstration, and version files consistently.
- Review in two passes. Watch with audio at normal speed for flicker and timing problems. Then inspect high-risk markers frame by frame, especially where fingers, tools, or UI controls cross the former caption zone.
- Validate a clean master. Compare source and export resolution, frame rate, duration, aspect ratio, and audio layout. Confirm synchronization, avoid calling a re-encoded file lossless, and keep the subtitle-free master separate from localized versions.
- Add new captions after visual approval. Verify timing, technical terms, reading time, and placement. W3C guidance says prerecorded captions should provide synchronized text for meaningful speech and non-speech audio. Review again so new captions do not cover the lesson’s key action.


How can UnmarkAI fit into the hardcoded-caption stage?
Use UnmarkAI when captions remain after separate subtitle tracks are disabled. In the hardcoded subtitle removal workflow, an editor uploads an authorized file, selects the subtitle region, previews the AI-inpainted result, and exports it. The aim is to reconstruct the covered area while retaining the full composition; results depend on motion, occlusion, texture, source quality, and compression.
For a longer lesson, use the stress test above before committing the full file. Treat the output as a candidate, not an approved deliverable. For titles, timestamps, usernames, or lower thirds, use the broader video text removal workflow.
Human review decides whether the restored background and export properties pass QA.
What does one anonymized internal sample show?
In an internal UnmarkAI production analysis, one anonymized paid user completed 20 long-tutorial cleanup tasks totaling 101.9 minutes and consuming 1,070 credits. It counted successful top-level tasks to avoid duplicate pipeline subtasks. The production window was May 4–July 31, 2026; payments were reviewed from May 9–July 31, with three specified accounts excluded.
This one-user sample is first-party workflow evidence, not an industry benchmark. It does not establish typical price, speed, success rate, or video length and must not be extrapolated to course creators generally. It only shows why repeatable, chapter-level QA is relevant to a real multi-video workflow.
Which long-video cleanup approach should you choose?
Long-video subtitle cleanup strategies compared
| Approach | When risk is discovered | Rework exposure | Best fit | Main limitation |
|---|---|---|---|---|
| Process the entire video immediately | After the full export | Often high: a late artifact may trigger a long rerun | Short, visually uniform clips already validated with the same layout | Weak choice for varied tutorials |
| Stress-test first, then process the full file | Before the main commitment | Often moderate because the method is validated on a difficult sample | A stable tutorial with limited scene variation | One test may miss a different risk later |
| Stress-test, then process by chapter | Before processing and at each boundary | Typically lower than the other two paths because failed sections are isolated | 30–60 minute courses, demonstrations, and mixed camera or screen content | More file management and assembly |
The middle path is a practical minimum. The chapter-based path usually gives editors the clearest rollback points when backgrounds, caption positions, or shot types change.
Frequently asked questions
Can I remove captions from a 30- or 60-minute video?
Yes, if the file fits current upload limits and passes a representative stress test. Splitting at lesson or shot boundaries makes review and retries manageable. Check the current interface before committing a full file because limits can change.
How can I estimate the cost of removing subtitles from a long video?
Use the estimate shown for the actual file and settings, then test the hardest 30–60 seconds. Duration is not the only possible factor. The internal sample above is historical evidence from one user, not a pricing formula or promise.
What if captions cover hands, tools, or interface controls?
Include it in the stress test and review frames around the occlusion. If reconstruction damages the subject, isolate the shot, adjust the region, or use a manual workflow with clean reference frames.
Can I preserve the original resolution and frame rate?
Match source settings where available, but verify the export. Record resolution, frame rate, aspect ratio, duration, codec, and audio layout. Re-encoding can change compression even when dimensions match, so avoid “lossless” claims.
When should I keep the original captions?
Keep captions required for accessibility, ownership, provenance, safety, evidence, or another obligation. Do not publish an inaccessible caption-free replacement. Preserve the original and add an accurate updated track to the authorized final version.
How do I add new subtitles after cleanup?
From the approved master, create or translate a timed subtitle file and review terms, line breaks, reading time, and placement. Use the video translation workflow for a new language or voice track, then review the video and caption assets.
Compliance and accessibility note
Only process videos you own, license, or have permission to edit. Do not remove attribution, provenance, ownership marks, safety labels, evidence, or legally required notices. Caption removal should be a production step before authorized correction, re-captioning, or localization—not a reason to ship an inaccessible version. W3C’s guidance on captions for prerecorded media explains why synchronized captions must convey dialogue and meaningful non-speech audio for viewers who are deaf or hard of hearing.
Test the hardest 30–60 seconds before committing the full tutorial
Choose the segment with the most movement, detail, occlusion, and scene changes. If its restored area passes normal-speed and frame-by-frame review, proceed by chapter, validate the clean master, and only then add the new caption or language layer. Explore the AI video cleanup workflow to choose the appropriate authorized cleanup path.